
New Patient Information
Published by Dr. Roberto Macedo, DDS, MS, PhD, Prosthodontist
Everything you need to know before your first visit to Advanced Center for Cosmetic Dentistry.
What to Expect at Your First Appointment
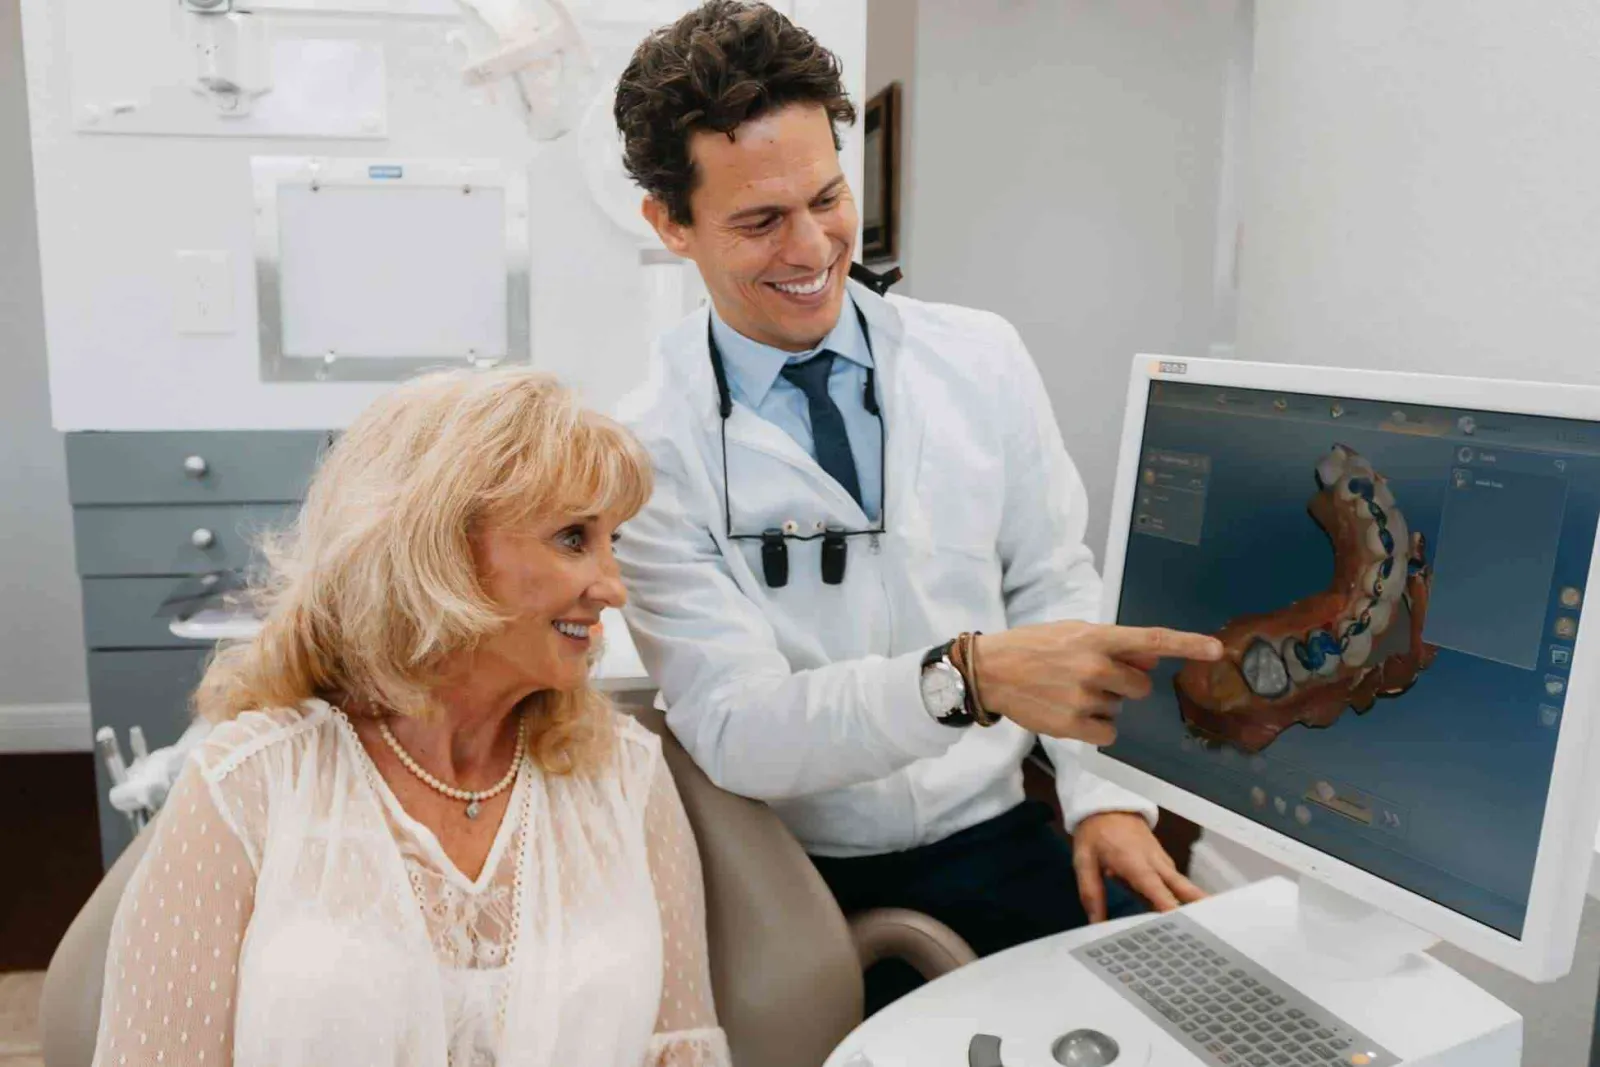
Your first appointment at Advanced Center for Cosmetic Dentistry is designed to be informative, unhurried, and completely pressure-free. Dr. Macedo takes the time to genuinely understand your goals, evaluate your oral health, and discuss all available options before making any recommendations.
Please plan for approximately 60 to 90 minutes for your initial visit. This allows adequate time for a comprehensive examination, digital imaging, and a thorough consultation with Dr. Macedo.
You will leave your first appointment with a clear picture of your current oral health, a discussion of your goals, and a realistic overview of any recommended treatments, with no pressure to decide on the spot.
What to Bring
- ✓Valid photo ID
- ✓Dental insurance card (if applicable)
- ✓List of current medications
- ✓Previous dental X-rays or records (if available)
- ✓A list of questions or concerns for Dr. Macedo
- ✓Any photos of smiles you admire (helpful for cosmetic consultations)
You See Your New Smile Before Treatment Begins
Our approach is built around one idea: nothing permanent happens until you have seen the result in your own mouth and approved it. The in-house lab is what makes that possible, because the design work and the treatment happen under the same roof. Here is how a porcelain veneer case runs, from the first set of photographs to your one-year check.
- First Appointment
Photographs, Digital Impressions, and Your Design
Dr. Macedo and the team spend real time on your case first: what is bothering you, what you want the result to look like, and what your mouth will support. A set of specific photographs is taken in a professional setting, and your teeth are captured with custom digital impressions. Those photos, the scans, and what you tell him in the interview are what your new smile gets designed from.
- Second Appointment
Test Drive Your New Smile, Without a Drill
You come back to try the mock-up of your new smile in your own mouth. In the vast majority of cases Dr. Macedo places it without ever using a drill, so the structure of your teeth is left untouched until you are completely satisfied with the look. Only once you approve it does anything move forward.
- Preparation and Temporaries
Dr. Macedo Makes Your Temporaries Himself
Veneers can be prepped right away or as soon as the next day. The preparation is minimally invasive, with very little tooth structure touched, and the approved design is duplicated with our own technology so you get the exact smile you signed off on. Dr. Macedo fabricates the temporaries himself, so you leave that appointment looking better than when you walked in.
- Final Fit and One-Year Follow-Up
Your Permanent Smile, Then a Check a Year Later
At the final appointment the temporaries come off and your permanent, custom-made veneers go on. Cared for properly, veneers should look and feel excellent for up to 15 years, and most patients forget they have them within one or two months as the facial muscles adapt. Book a follow-up one year after placement so Dr. Macedo can assess the look and feel and keep the result where it should be.
Want the same sequence written out with timings? Read the veneers timeline, from consultation to final smile, or what to expect at your first cosmetic consultation.
What You Can Expect at Every Visit
Your safety and comfort is our top priority. We are happy to answer any questions about the steps we take to keep every patient safe.
Caring and Professional Team
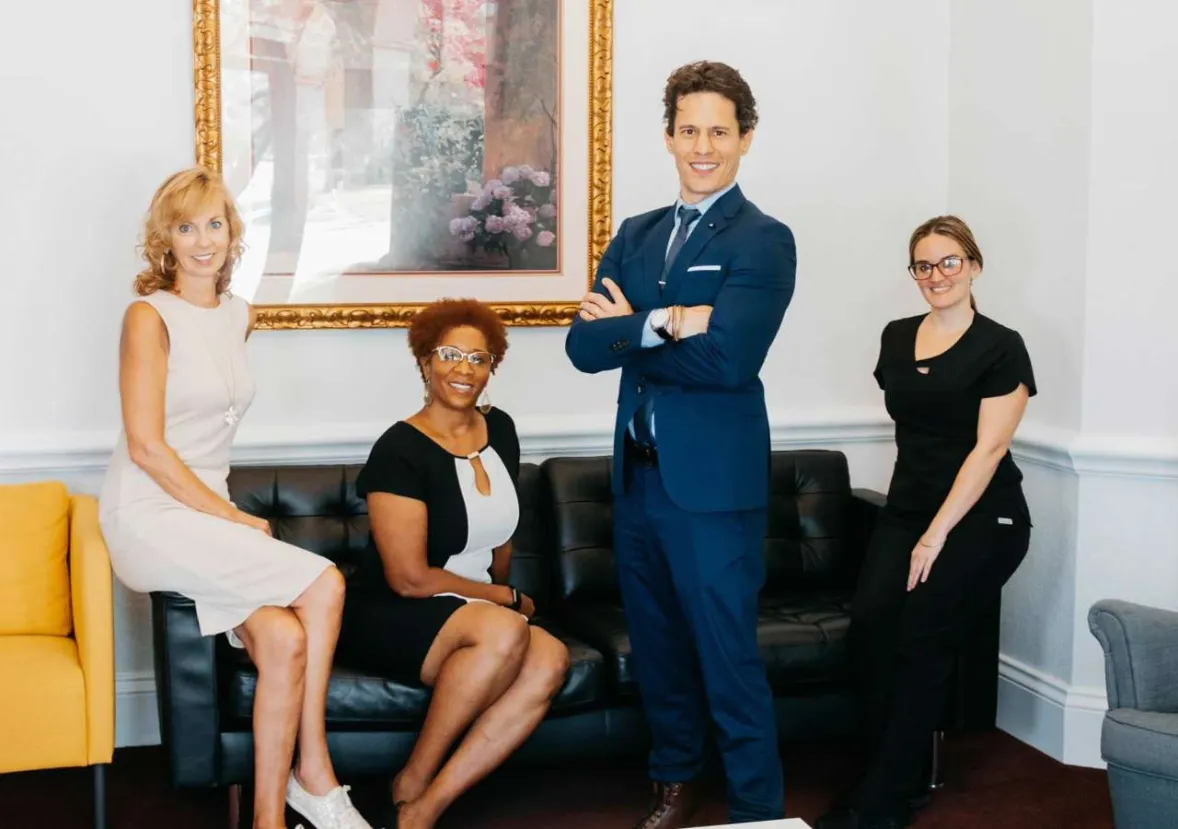
During your visit, you can expect all team members to be caring and professional, making you feel at ease, listened to, and taken care of throughout your treatment.
Advanced Sanitization
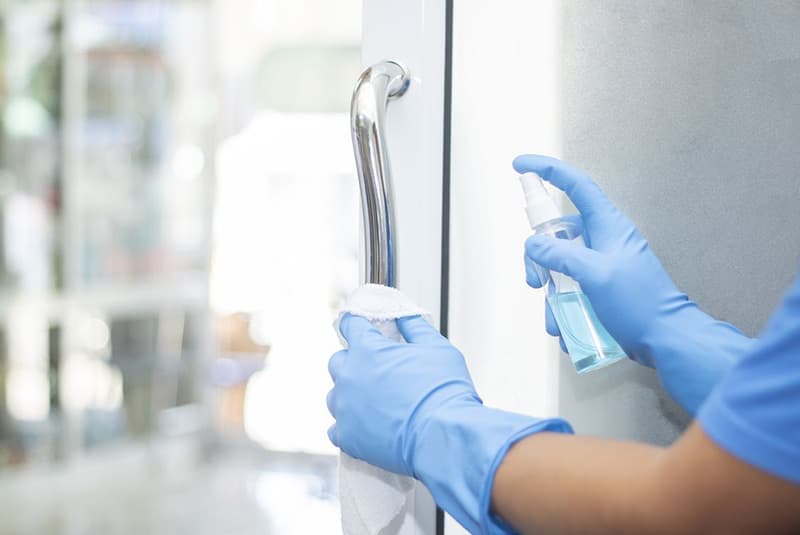
All high-touch areas are sanitized between each use, including chairs, doorknobs, counters, pens, and tools. We have a dedicated sterilization area for all dental equipment.
State-of-the-Art Facility
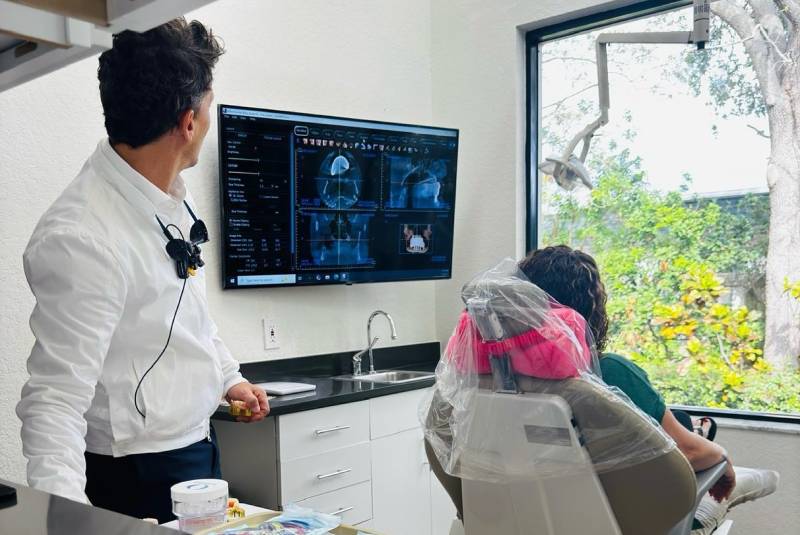
We utilize the latest in dental technology to provide precise, comfortable, and efficient care. Our equipment includes lasers for minimally invasive treatments, a cone beam CT scanner, and digital scanners.
Patient Information
Insurance & Payment
We are a fee-for-service practice. We are considered out-of-network but help patients maximize available out-of-network benefits and submit claims on your behalf as a courtesy. Flexible financing options are available to help make treatment manageable.
Patient Forms
Download the new patient form and consent form below and complete them at home before your visit, or arrive 15 minutes early and complete your paperwork at the office.
Dental Anxiety
Dental anxiety is common, and our entire team is trained to help you feel comfortable. Please let us know if you experience anxiety: Dr. Macedo will take extra time to explain each step, answer your questions, and proceed only when you are fully at ease.
Emergency Care
If you are experiencing a dental emergency such as a broken tooth, severe pain, or a lost restoration, please call us immediately at (727) 345-2064. We will do our best to see you as soon as possible.
Accessibility
Our office is fully accessible. If you require any special accommodations, please let us know when you call to schedule and we will ensure your visit is comfortable and accommodating.
Ongoing Care
After completing treatment with Dr. Macedo, we recommend regular hygiene and maintenance visits. Dr. Macedo may refer you to a general dentist for routine cleanings, or provide care in-house depending on your ongoing needs.
Patient Forms
Complete your paperwork at home and bring it with you to your first appointment.
Aftercare Instructions
The instructions Dr. Macedo gives patients after treatment, in one place so you can find them at home. Open the set that applies to you, whether that is new dentures, a conditioning liner, take-home whitening trays, or recovery after oral surgery.
Denture Care After Extractions
- ✓Keep your denture in your mouth for the first 24 hours.
- ✓After every meal, take the denture out, brush it, and rinse gently with warm salt water or Peridex, then put it back in.
- ✓Keep the denture in at night for the first 2 weeks.
- ✓After 2 weeks, take the denture out, brush it, and soak it in denture cleaner.
Tissue Conditioning Liner
- ✓The new material on your denture is a temporary tissue conditioning liner.
- ✓Do not scrub the liner with anything for the first three days. It is very sticky, so scrubbing can gum it up or pull it away from the denture.
- ✓After the first three days you can clean it gently with a soft bristle toothbrush, and only if it needs it. Rinsing the denture with regular tap water is preferred.
- ✓Do not use Efferdent tablets on the liner. They make the liner bubble up, and it then has to be redone.
Bleaching Tray Instructions
Directions for use
- ✓Brush your teeth before you put the trays in.
- ✓Place a dot of bleaching gel inside the front of the tray.
- ✓Wear the trays for 2 to 4 hours.
- ✓Remove excess gel with the 2x2 gauze provided.
- ✓Clean the tray with a soft brush and cool tap water.
Bleaching precautions
- ✓Do not use tobacco products or eat while you are bleaching.
- ✓Teeth are naturally darker along the gum line. Those areas can take longer to lighten than the rest of the tooth and usually stay slightly darker.
- ✓White spots on the enamel, including any that appear during bleaching, may blend in as the process continues.
General precautions
- ✓A small percentage of patients get sensitivity while bleaching. If that happens, take the tray out and allow 1 to 2 days for the sensitivity to stop. A fluoride rinse before and after bleaching, or less time in the trays, can help.
- ✓Foods and juices high in citric acid can make teeth sensitive.
- ✓Some patients notice temporary discomfort in the gums, lips, throat, or tongue. It usually settles within 1 to 3 days of stopping treatment.
- ✓Coffee, tobacco, and other products can re-stain your teeth over time. If that happens, teeth can be re-whitened within a few nights using Opalescence.
- ✓Regular dental checkups and cleanings before and after bleaching matter for keeping your smile healthy.
- ✓Crowns, bridges, partial dentures, veneers, and composite fillings will not bleach.
- ✓Store the bleach out of the sun and heat. Refrigeration is recommended. Do not freeze it.
- ✓Keep Opalescence out of reach of small children.
- ✓Do not swallow the gel, or gel you have rinsed out.
Post-Surgery Instructions
If you have had an oral surgery procedure, Dr. Macedo and the team give you detailed instructions so you can recover quickly and get back to your regular activities. These are the general guidelines.
- ✓Take all the medications as prescribed.
- ✓To relieve pain and swelling, hold an ice or cold pack against the outside of your mouth for 20 minutes at a time. Put a thin cloth between the ice and your skin.
- ✓After 48 hours, rinse your mouth gently with the prescribed rinse or salt water three times a day to reduce swelling and relieve pain. To make salt water, mix 1 tsp (5 g) of salt into a medium glass of water, 8 fl oz (240 mL). Do not rinse hard: that can loosen the blood clot, which increases bleeding and delays healing.
- ✓Relax for three days after surgery. Physical activity may increase bleeding.
- ✓Avoid smoking.
- ✓Eat soft foods such as gelatin, pudding, or a thin soup. Add solid foods back into your diet gradually as healing progresses.
- ✓Do not lie flat, as that may prolong bleeding. Prop your head up with pillows.
- ✓Avoid rubbing the area with your tongue.
- ✓Do not use sucking motions, such as drinking through a straw.
- ✓Avoid spitting.
- ✓Continue to brush your teeth and tongue, carefully.
These are the general instructions. If anything is unclear, or something does not feel right after your treatment, call the office on (727) 345-2064. What Dr. Macedo tells you about your own case always comes first.
Book Your First Appointment
Call us at (727) 345-2064 or email [email protected] and a member of our team will help you schedule your visit.